You’ve read it correctly: you can already add shaders to Minecraft 1.20! That’s impressive, especially when you consider the first teaser of the brand new Minecraft version set to release in 2023 was first shown to the public only a week or two ago. What’s new this year is that we can immediately give this new update a try through the latest snapshot version in the official Minecraft launcher.
New Minecraft Update
This brand new version we are talking about here is going to be Minecraft 1.20. Up to this point, most future Minecraft version were named after the content they would add. This time around, with the 1.20 update, things are a little different.
For a start, the update does not have a name yet. Nor does it have a set release date. It was actually referred to as the ‘Unnamed Update’ several times during this year’s Minecraft Live.
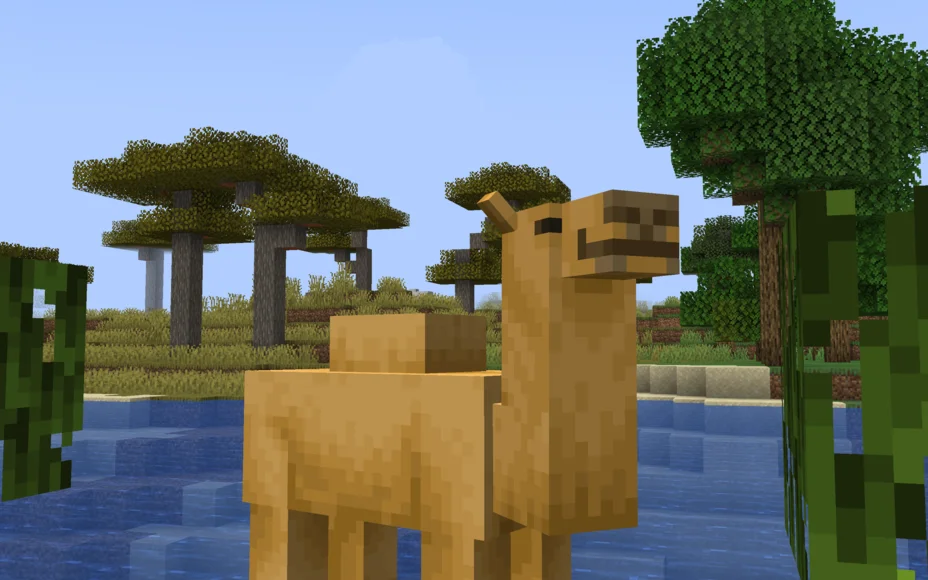
We did, however, get a brief look at the features this version will be adding. Mojang confirmed it will add Camels to the game, along with a new block type crafted from bamboo. On top of that, there will be hanging signs, and from bamboo, you can also craft adventurous looking rafts.
Add Shaders to Minecraft 1.20
With all that out the way, it is time to teach you how to add shaders to Minecraft 1.20 through a snapshot version. The modding community in Minecraft has come a long way, and this becomes apparent when you realize just how easy it is to add shaders to the latest Minecraft versions.
To get started, go over to the official Iris Shaders website. From there, download the Universal Jar, which will appear as a Java application. Clicking it will open an easy-to-use installer. All you need to do is change the version from 1.19.2 to the latest snapshot. It will have a name along the lines of “22w43a”.
Now click Install and wait for the installation to complete. Close the installer, open up your Minecraft Launcher and launch the newly added Iris & Sodium for 22w43a (or similarly named) profile. From the game’s Video Settings you can now add shaders to 1.19.3. From the Shader Packs menu, click Open Shader Packs folder.
This folder is where you want to put your shaderpacks. If you’re not sure what shader to get, check out the best minecraft shaders.
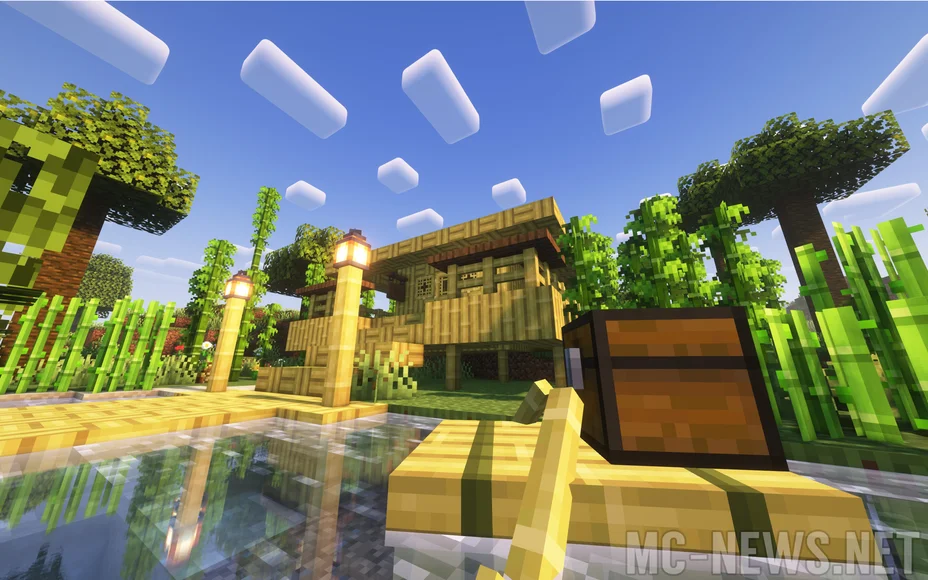
And that is it. That is how you can make your 1.20 worlds look realistic using shaderpacks. It’s not that hard and only takes about a minute or two to set up. If you’ve found this article helpful, make sure to share it. Are you a fan of shaders? Check out all of our articles about shaders!